

Added August 2021
THE BOILER
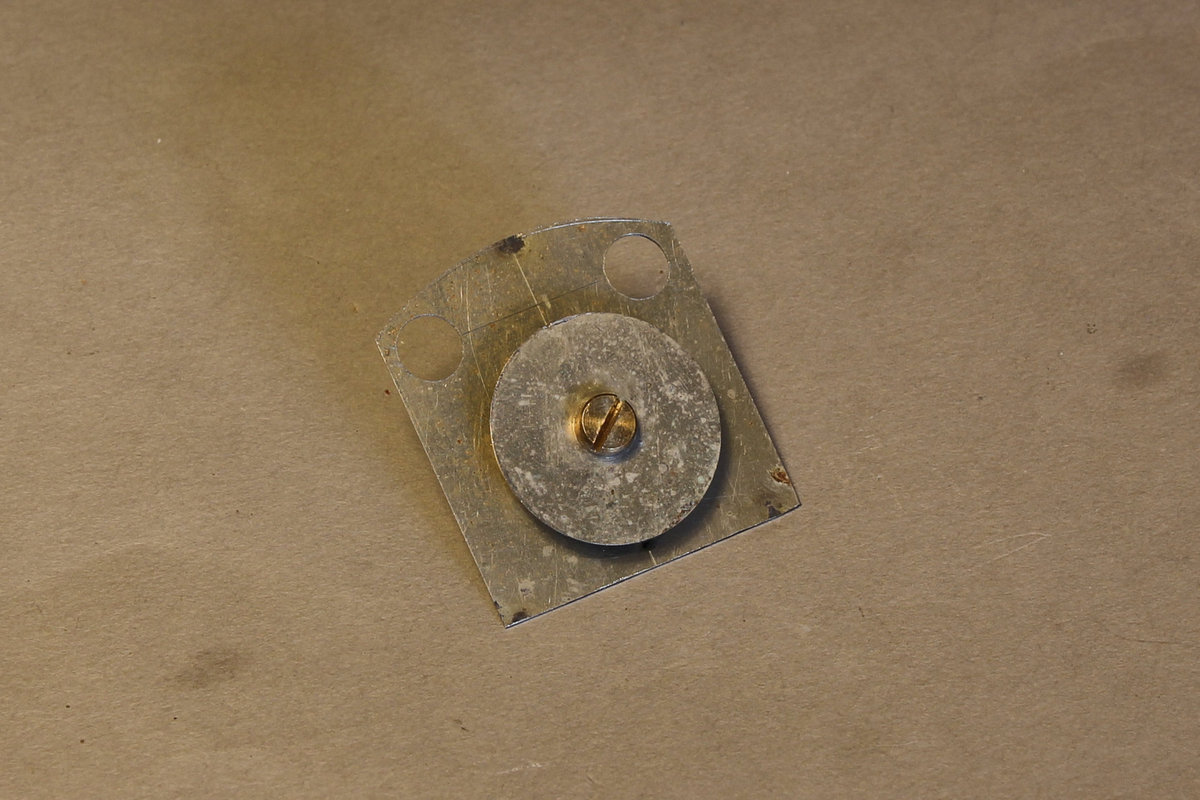
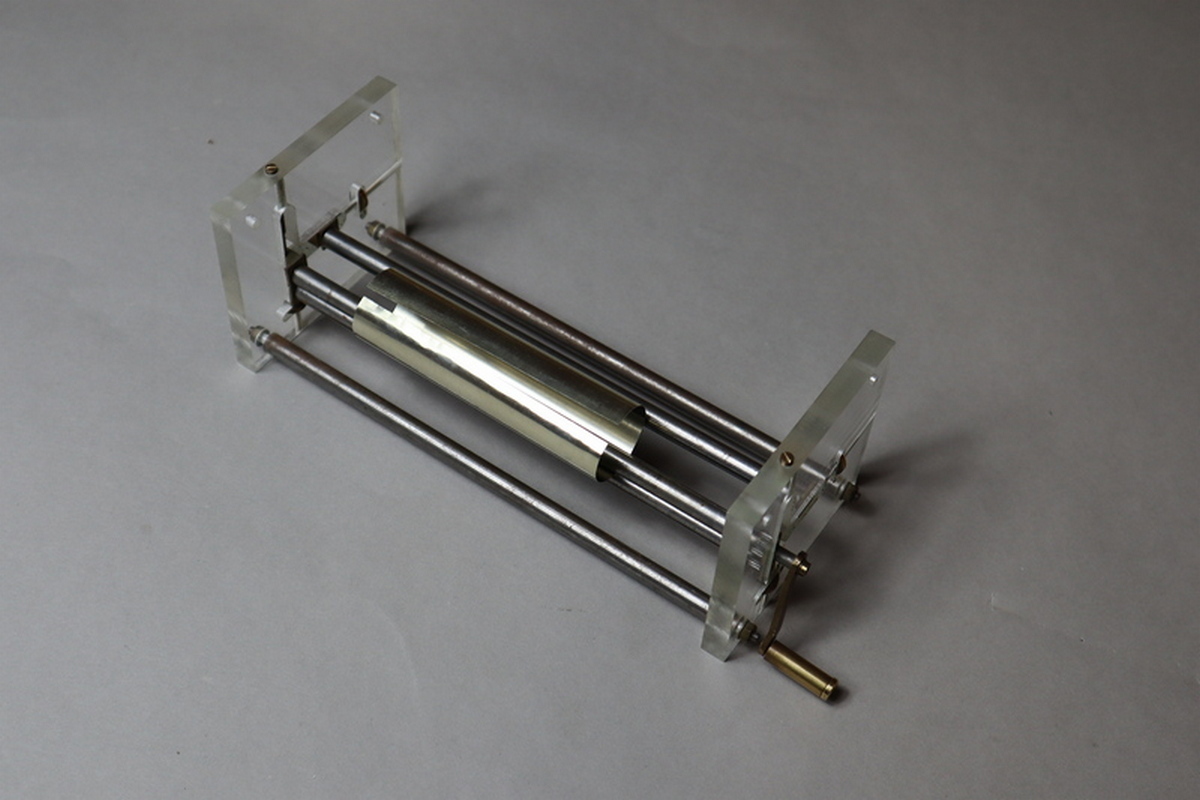 For the boiler, I use 5 or 6 thou nickel silver which rolls easily and retains its shape without the need to anneal. Some years ago I made a small rolling mill which is just about adequate for the task (photo right). I cut the material with the guillotine to the correct length, and wide enough for the circumference and about 2mm overlap for the seam.
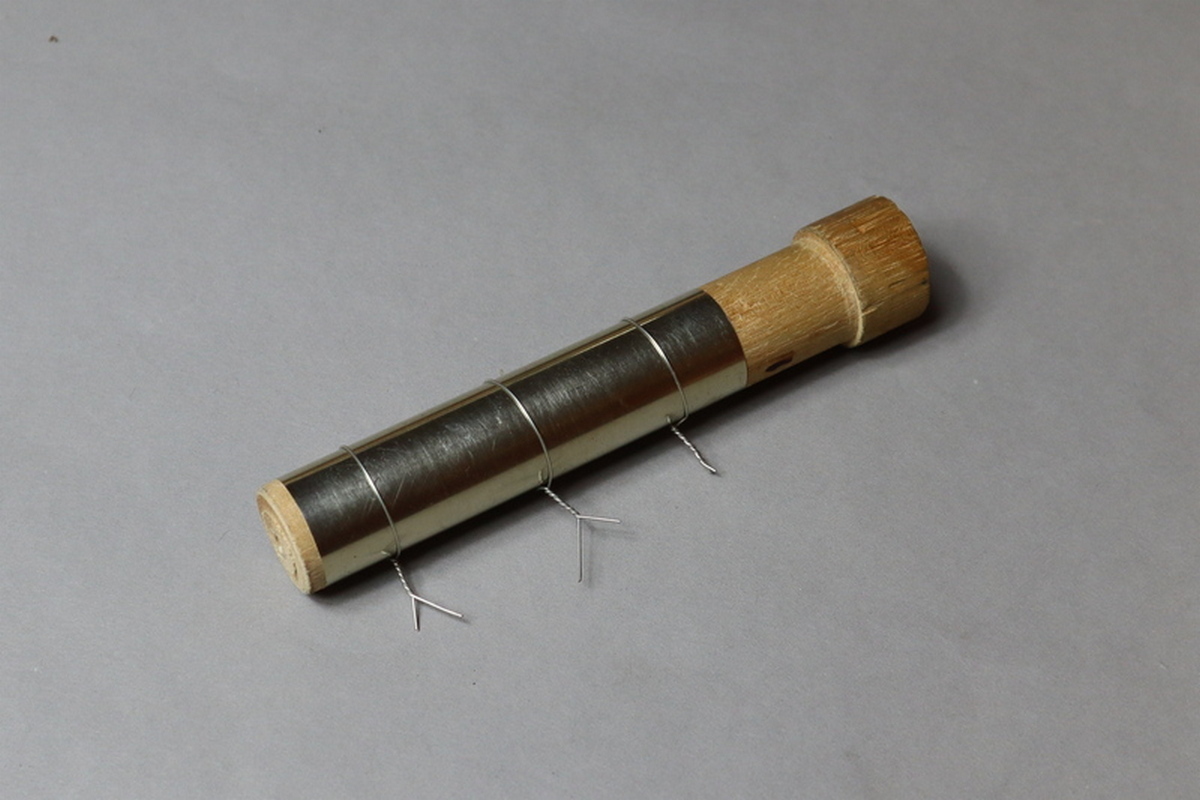 With the boiler more or less to the right diameter, I wrap it round a length of dowel, turned in the lathe to the correct diameter. Held in place by a few twists of copper wire, the seam can be soldered together.
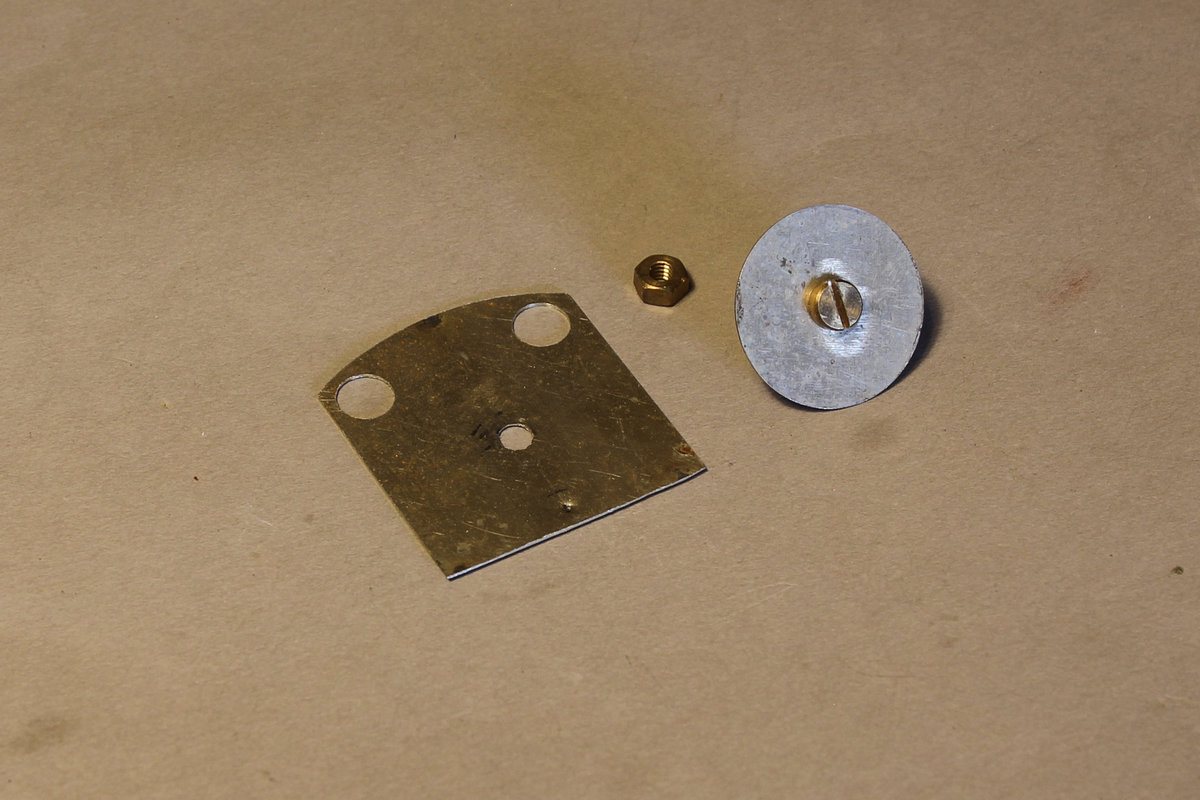
 Getting the boiler horizontal is obviously key to making the loco look right, so I first build up the cab front, boiler and boiler saddle. After cutting out the cab front sheet, I have drilled a hole on the boiler centre-
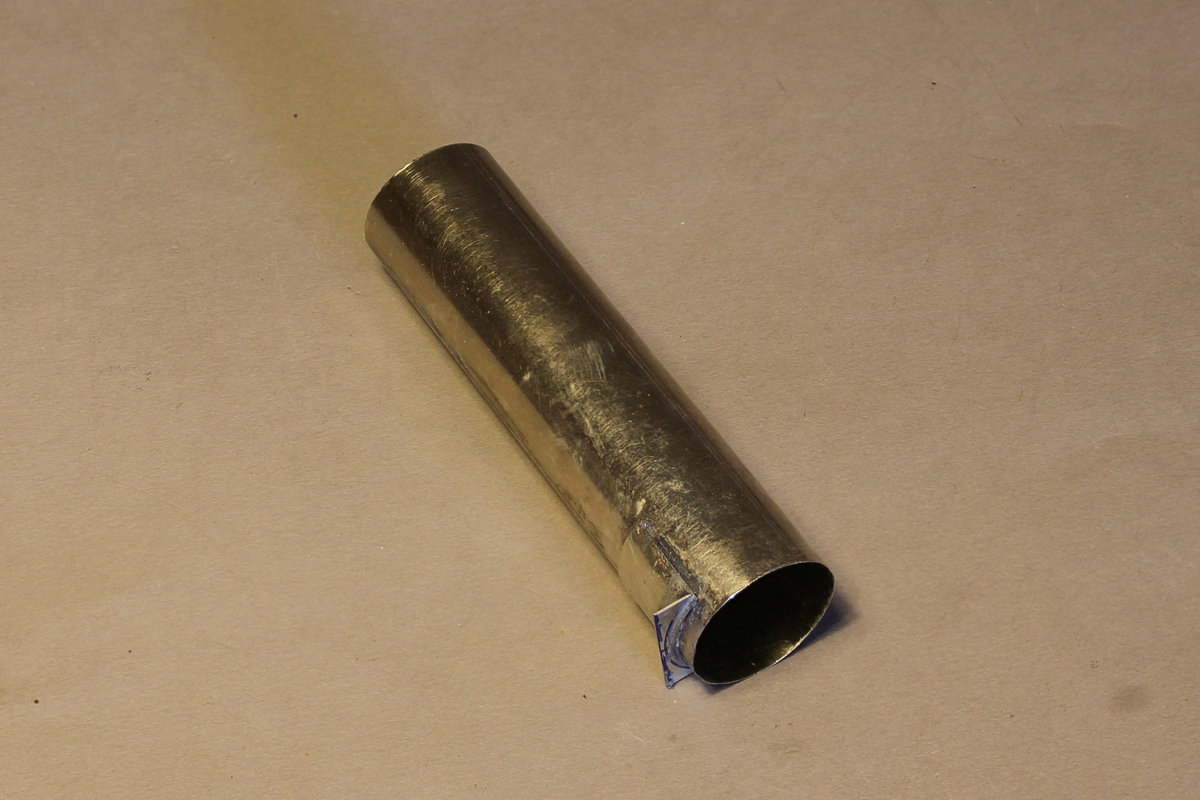
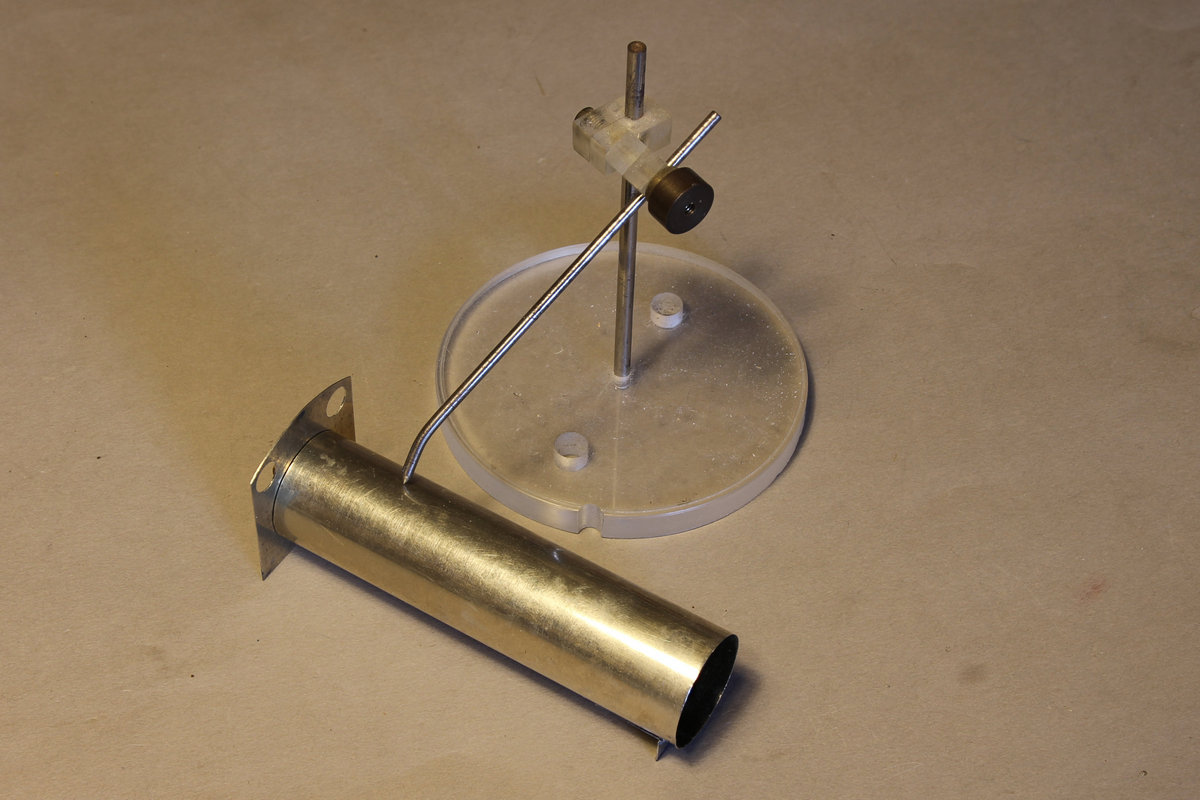 The next stage is to cut, file and fit the first part of the boiler saddle, photo left. By loosely assembling the boiler and cab front, the boiler can be checked, and small adjustments made to ensure that it is central, level and at the correct height, before soldering the assembly together.
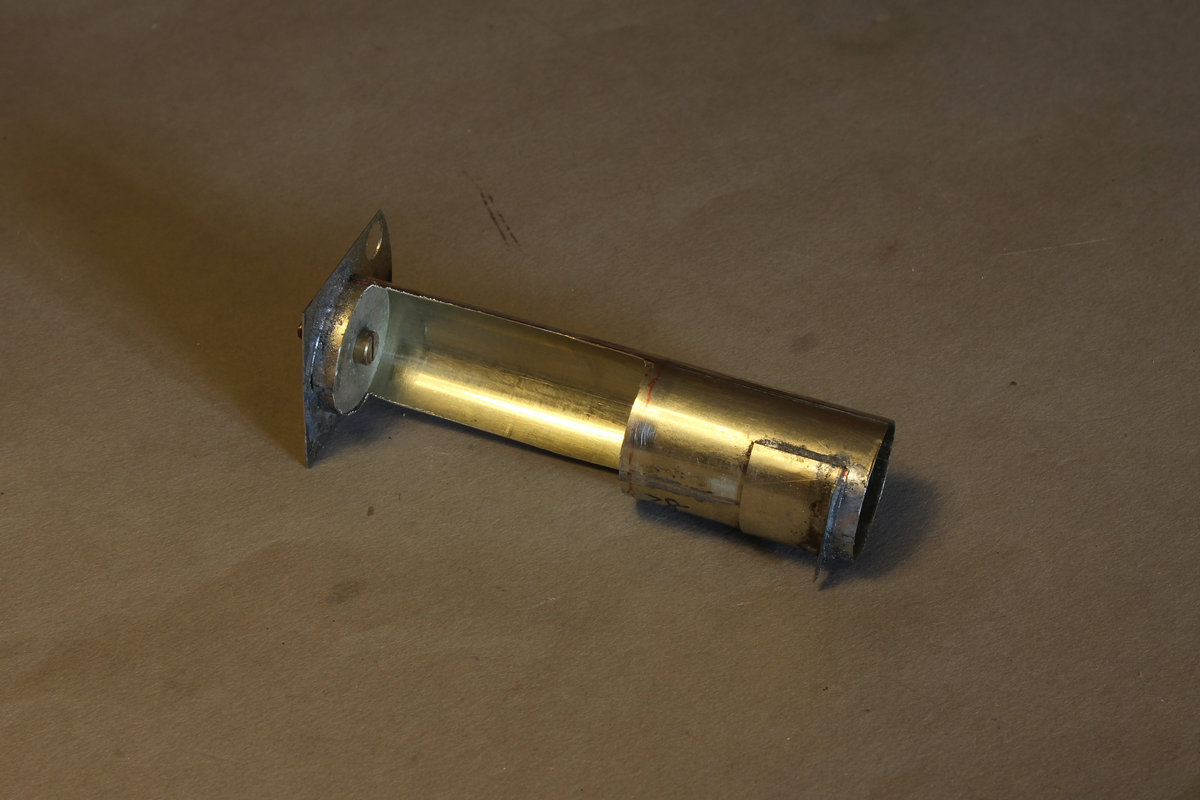 Having checked that the boiler is at the correct level, horizontal, and central to the cab front, I’ve soldered the lower half of the boiler to the cab front (so that my soldering will be hidden behind the side tanks). With the boiler firmly in place I’ve then carefully marked and cut out the lower half of the boiler to provide space for the motor, using a mini-
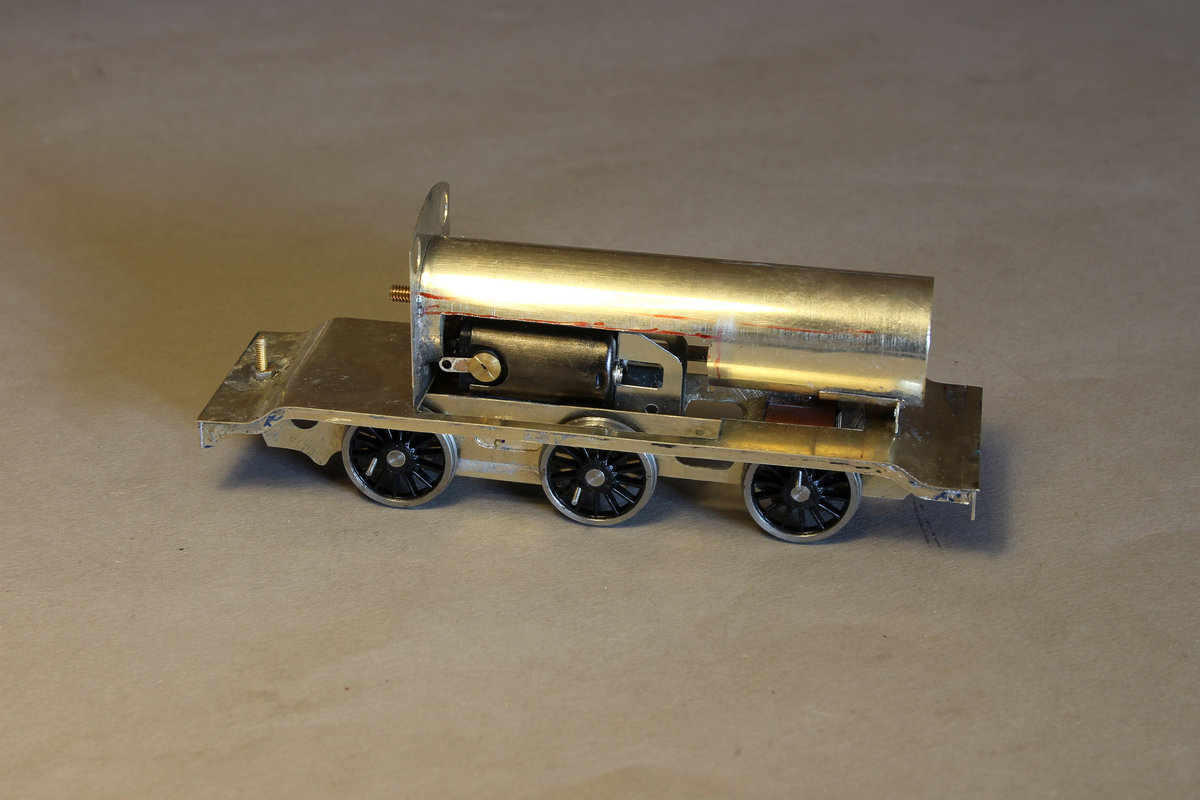 A quick check to ensure sufficient clearance for the motor, and the boiler can be spot soldered in position, finally checked to make sure it is central on the running plate, and correct fore-
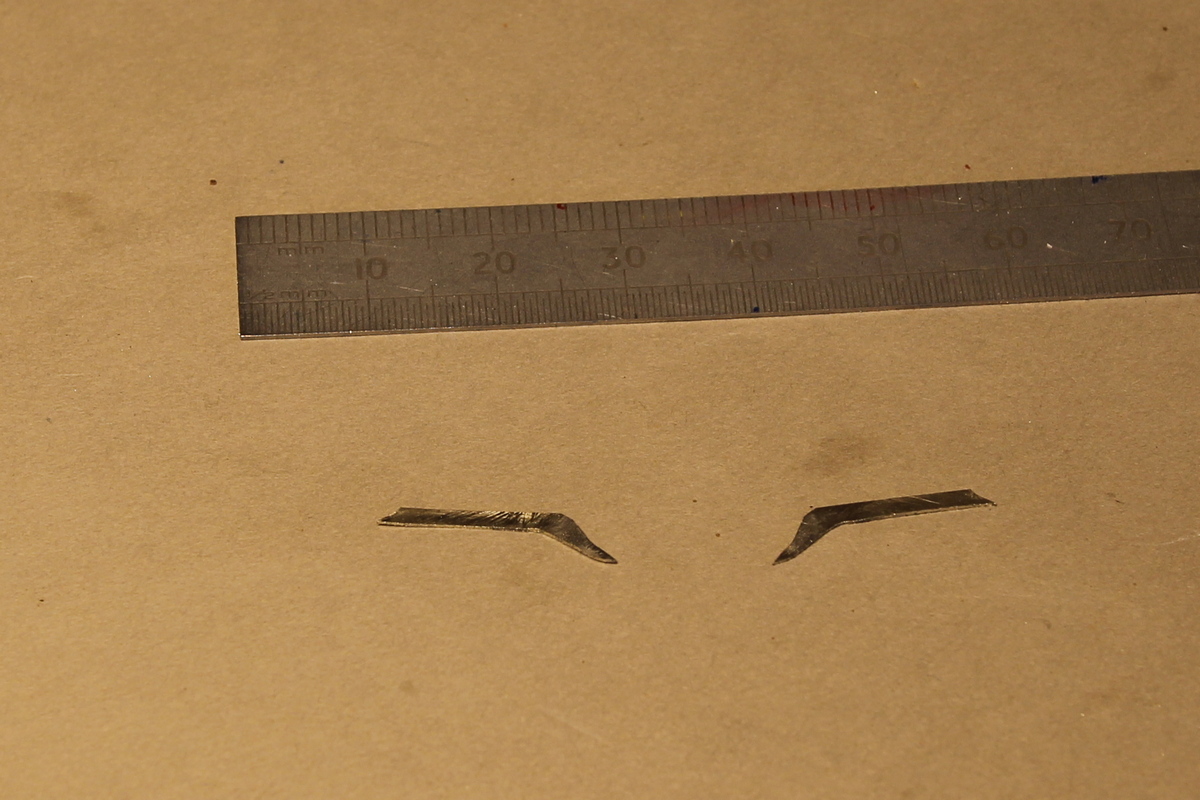 The last section of the boiler is the rather fiddly smokebox saddle. I’ve cut and filed the sides (in reality the mainframes where they protrude above the running plate) from two pieces of 10thou n-
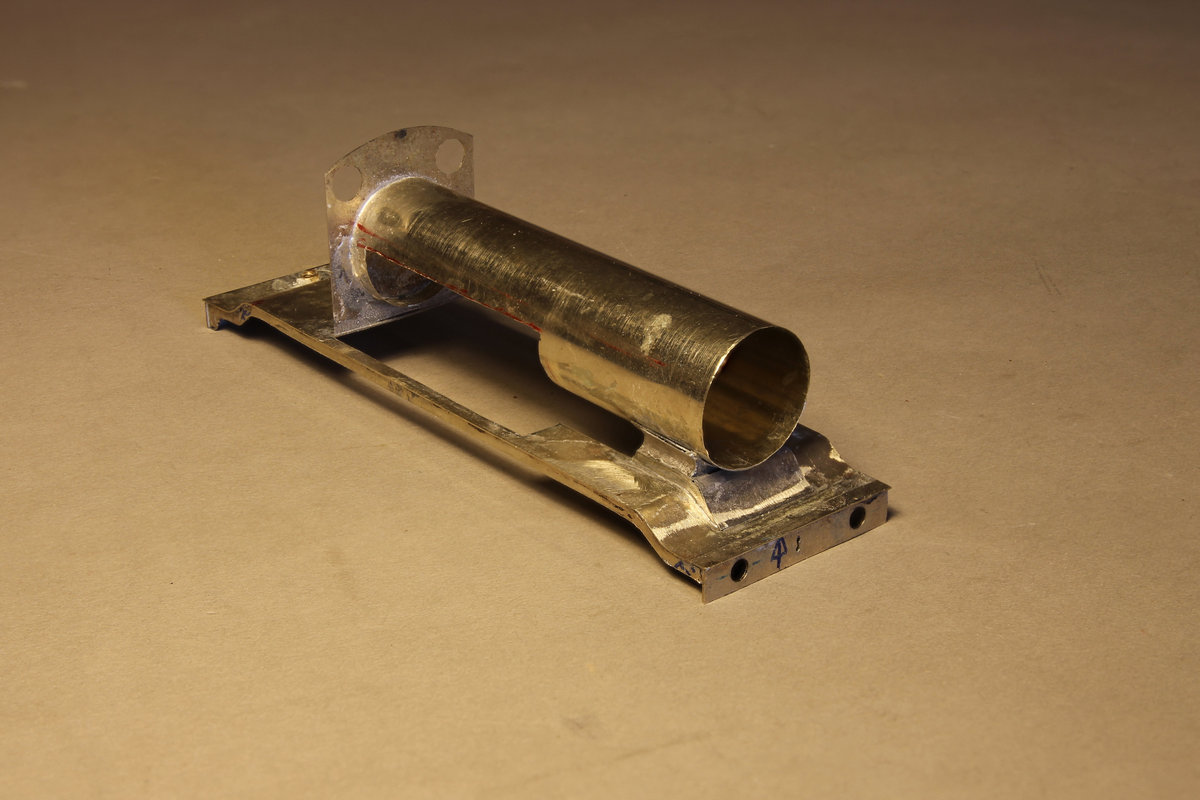 The final pieces are the valve chest cover under the smokebox door, and the curved sections filling in between the frame tops and the underside of the boiler, bent up from 5 thou n-
A final wash in the ultrasound cleaner to get rid of any solder paste, and we’re ready for the next stage -